



Losing your server data can be devastating. Your worlds, saves, builds, and player progress can disappear in an instant. This guide will show you how to set up automated backups using your MintServers game panel, so you never have to worry about losing your progress again.
The steps below work the same way no matter which game your server runs, whether that is Minecraft, Palworld, Valheim, Rust, or any other game we host.
💡 Pro Tip
Set your schedule up once and your backups run on their own, making them the perfect "set it and forget it" solution to keep your progress safe.
What Are Automated Backups?
Automated backups create copies of your server files automatically at times you choose. Unlike manual backups where you have to remember to make them, automated backups happen by themselves. Your backups are stored in the cloud and do not take up any space on your server.
ℹ️ Cool Feature
All backups are stored in secure cloud storage completely separate from your server, so they never use up your server's storage space.
Setting Up Automated Backups
Follow these simple steps to set up automated backups for your server:
Step 1: Create a Schedule
- Log into your MintServers dashboard and open your game panel.
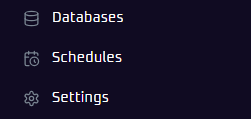
- On the left side sidebar, click Schedules.
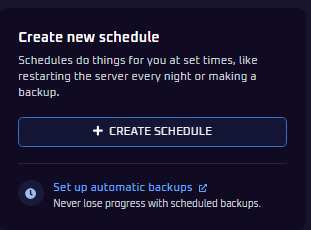
- Click the Create schedule button.
- Name your schedule "Server Backups".
- Set when you want backups to happen using cron syntax. A cron time has five parts, in this order: minute, hour, day of month, month, and day of week. Here are a few common examples you can copy and paste:
- Every 6 hours:
0 */6 * * * - Every 12 hours:
0 */12 * * * - Every day at 3 AM:
0 3 * * * - Every day at 6 PM:
0 18 * * *
- Every 6 hours:
- Click Create schedule to save the time slot.
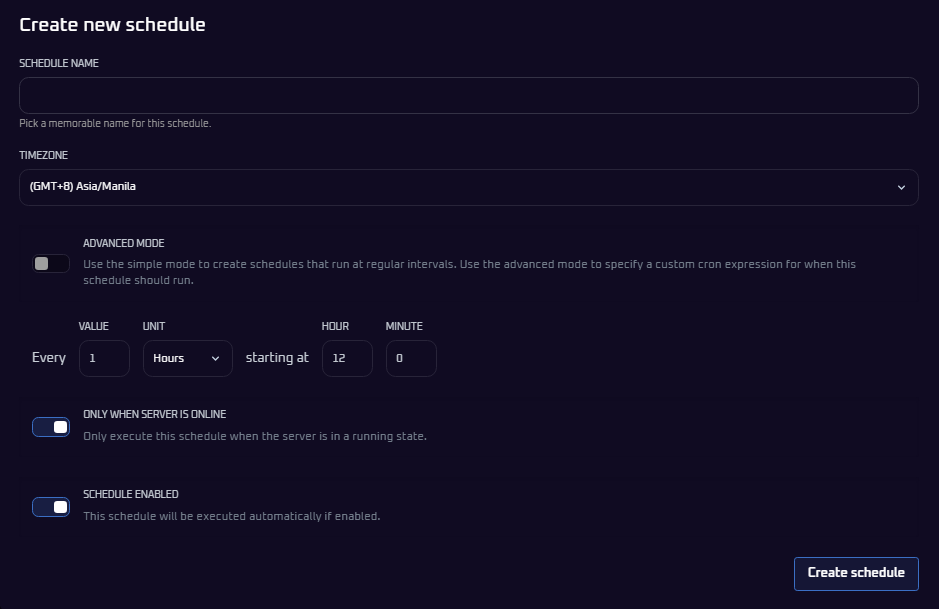

Backup schedules use the GMT+0 (UTC) time zone, so you need to convert your local time. Take the time you want and subtract your UTC offset. For example, if you are in US Eastern time during winter (UTC-5) and want a 3 AM backup, set it for 8 AM (
0 8 * * *). If you are in the Philippines or Singapore (UTC+8), a 3 AM backup is 7 PM the day before in UTC, so use 0 19 * * *. If your region uses daylight saving time, your offset changes twice a year, so update your schedule when the clocks change.
Step 2: Add the Backup Task
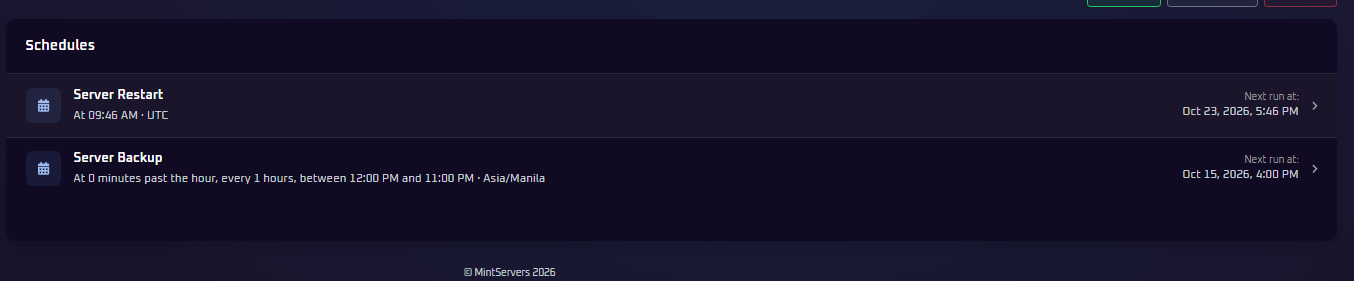
- Click on your new "Server Backups" schedule to open it.
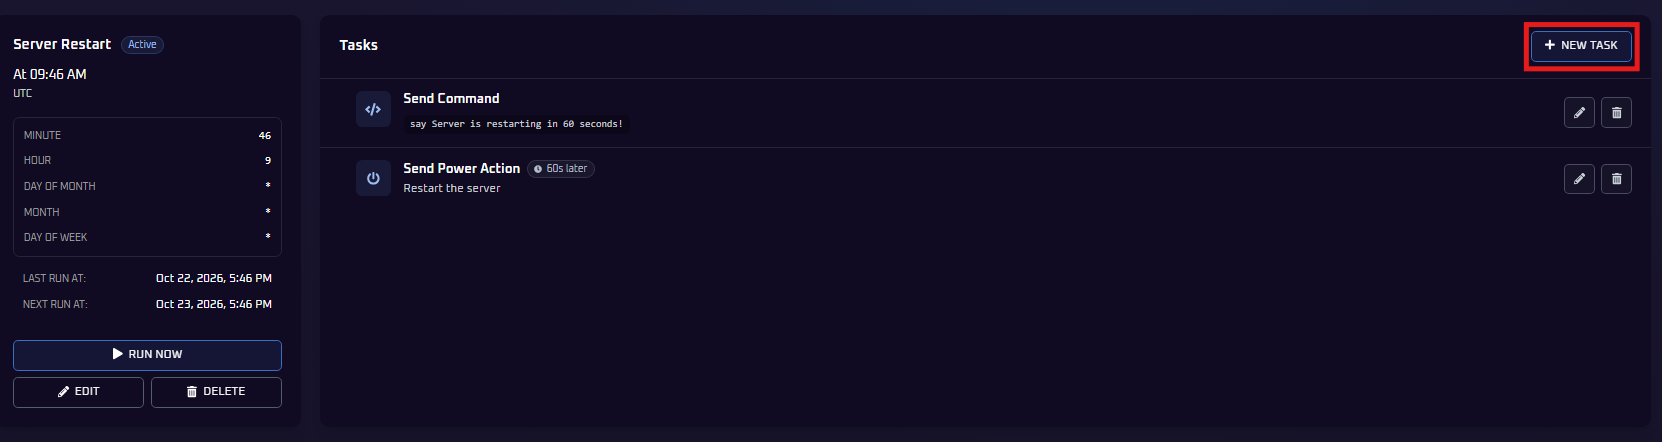
- Click the blue New Task button in the top right corner.
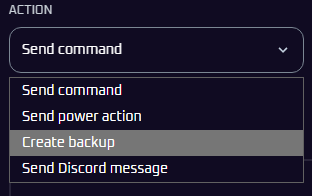
- In the Action dropdown, select Create Backup.
- Click the blue Create task button. That is it! Your automated backups are now fully set up and ready to run.


How Your Backups Are Managed
Your backup system automatically takes care of storage and cleanup, but here is what you should know about your backup limits and management:
- Check Your Limit: MAX plans allow for 5 automated backups. If you are running an Unlimited standard plan without backups, you may purchase them additionally through server upgrades on your billing dashboard.
- Smart Scheduling: Do not make backups too often (like every 5 minutes), or you will burn through your backup limit incredibly quickly.
- 7-Day Retention: Each backup is kept for exactly 7 days before being automatically deleted to save space.
- Automatic Cleanup: When you hit your plan's limit, the oldest backup gets deleted when a new one is generated. For example, if your plan allows 5 backups and you make daily backups, you will always have your last 5 days available. When day 6 arrives, day 1's backup gets automatically removed.
- Compressed Files: All backups are automatically compressed into archives.
🛠️ Best Practices & Getting Help
Automated backups are your safety net, but they are not magic! Always make a manual backup before making massive changes to your server (like switching server software, updating mods or modpacks, or swapping to a different game), even if you have automated backups running. This gives you a guaranteed safe restore point right before you make the change.
If you are having trouble setting up your automated schedules or need a hand restoring from a previous save file, no worries! Just open a support ticket and our team will gladly jump in and instruct you on how to recover your data safely.