


 DayZ
Installing mods on DayZ used to be a manual process, downloading each mod yourself and uploading the files to your server. MintServers now has a built-in one-click mod installer for DayZ, so for most Steam Workshop mods you no longer need to touch file uploads or .bikey files at all. This guide covers the one-click installer, plus a manual fallback for mods that aren't on the Workshop.
CF) for most major mods, or it may fail to load.
Step 1: Open The DayZ Mods Tool
- Log into your MintServers panel and select your DayZ server.
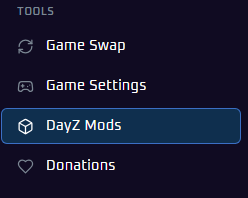
- In the sidebar, under Tools, click
DayZ Mods.
Step 2: Find And Install A Mod
- Use the search bar at the top, labeled
Mod name, workshop link or ID, to find the mod you want. - Click the download icon next to a mod to install it.
- Once installed, the icon changes to a checkmark, and the
Installed modscounter in the top right updates.
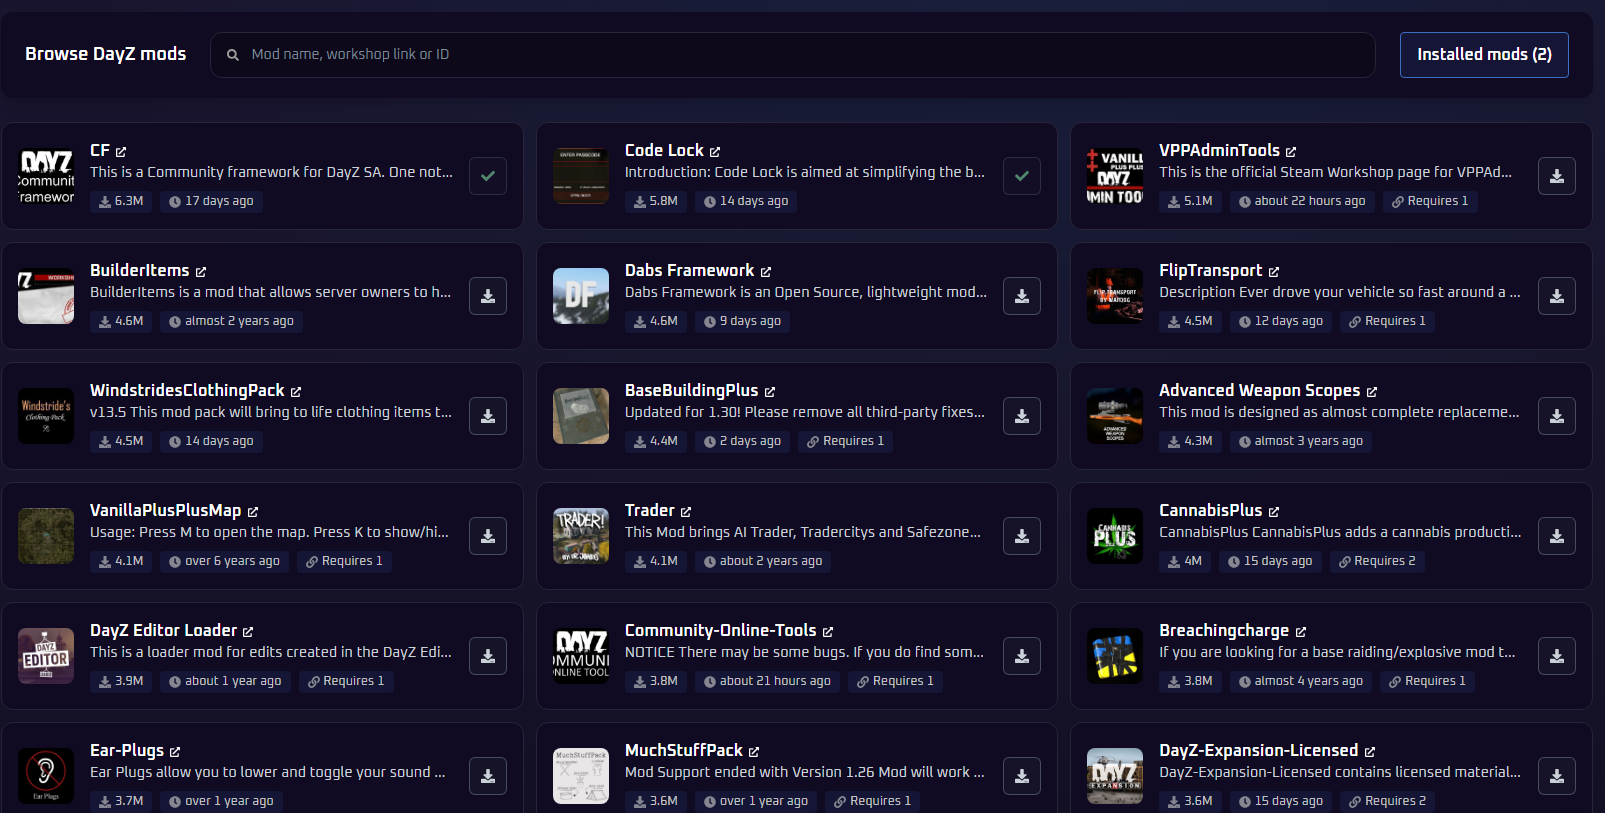
Requires N tag if it depends on other mods. After installing, check your Installed mods list to confirm every dependency made it in, and install anything that's still missing before starting your server.
Step 3: Restart Your Server
Once you've installed everything you need, restart your server from the Console tab to load your new mods.
modlist.html file, use the one-click installer instead.
Installing A Mod Manually (Fallback)
Use this method for mods that aren't on the Steam Workshop, like a custom map's separately-distributed mission files, or anything the one-click installer can't find.
- Download the mod's files from wherever its author distributes them.
- Log into your MintServers panel, open the Files tab, and upload the mod's folder into your server's root directory. Steam Workshop mods are normally named
@. - Inside the mod folder is a
keys(orKeys) folder containing a.bikeyfile. Copy every one of these into your server's ownkeysfolder, so players using the mod aren't rejected by the signature check. - Open the Game Settings tab and list your uploaded folder name in the Additional Mods field.
- Save your settings and restart your server.
Common Gotchas
- Missing dependencies: Community Framework (
CF) is required by most major mods. Install or upload it alongside anything that needs it. - Server-side files: Some mods ship a separate server-side download that goes in your server's
profilesfolder rather than the mod folder itself. Check each mod's page for specific instructions. - Loot merges: Mods that add new items often ship their own
types.xmlentries that need merging into your loot table. See our guide to DayZ Loot Editing for how the Central Economy works.
What Players Need To Do
Every player connecting to a modded server needs to be running the exact same mods, in the exact same versions. When a player tries to join through the DayZ Launcher, it automatically prompts them to subscribe to and download any mods they're missing, so this is usually a one-click step on their end rather than something they need to configure manually.
🛠️ Troubleshooting Mod Issues
Installed a mod but it's not active in-game:Confirm you restarted the server after installing. A restart is required for new mods to load.Server fails to start after installing a mod:Check the mod's card for aRequires Ntag and confirm every dependency it lists shows up in your Installed Mods list too.Can't find a specific mod in search:Double-check you're searching by its exact Workshop link or numeric ID. If it still doesn't turn up, it may not be distributed through the Steam Workshop, use the manual upload method above instead.Server rejects every player after adding a mod:This points to a missing.bikeyfile. This shouldn't happen with mods installed through the DayZ Mods tool, but if you added anything manually, double-check its key made it into your server'skeysfolder.A mod updated and now breaks the server:Reinstall it through the DayZ Mods tool to pull the latest version. For manually uploaded mods, you'll need to re-download and re-upload it yourself whenever the author pushes an update.
Once your mods are installed and your server starts cleanly, you're ready to build the exact DayZ experience you're going for. If you run into any trouble getting mods set up correctly, no worries! Just open a support ticket and our team will gladly jump in and help.